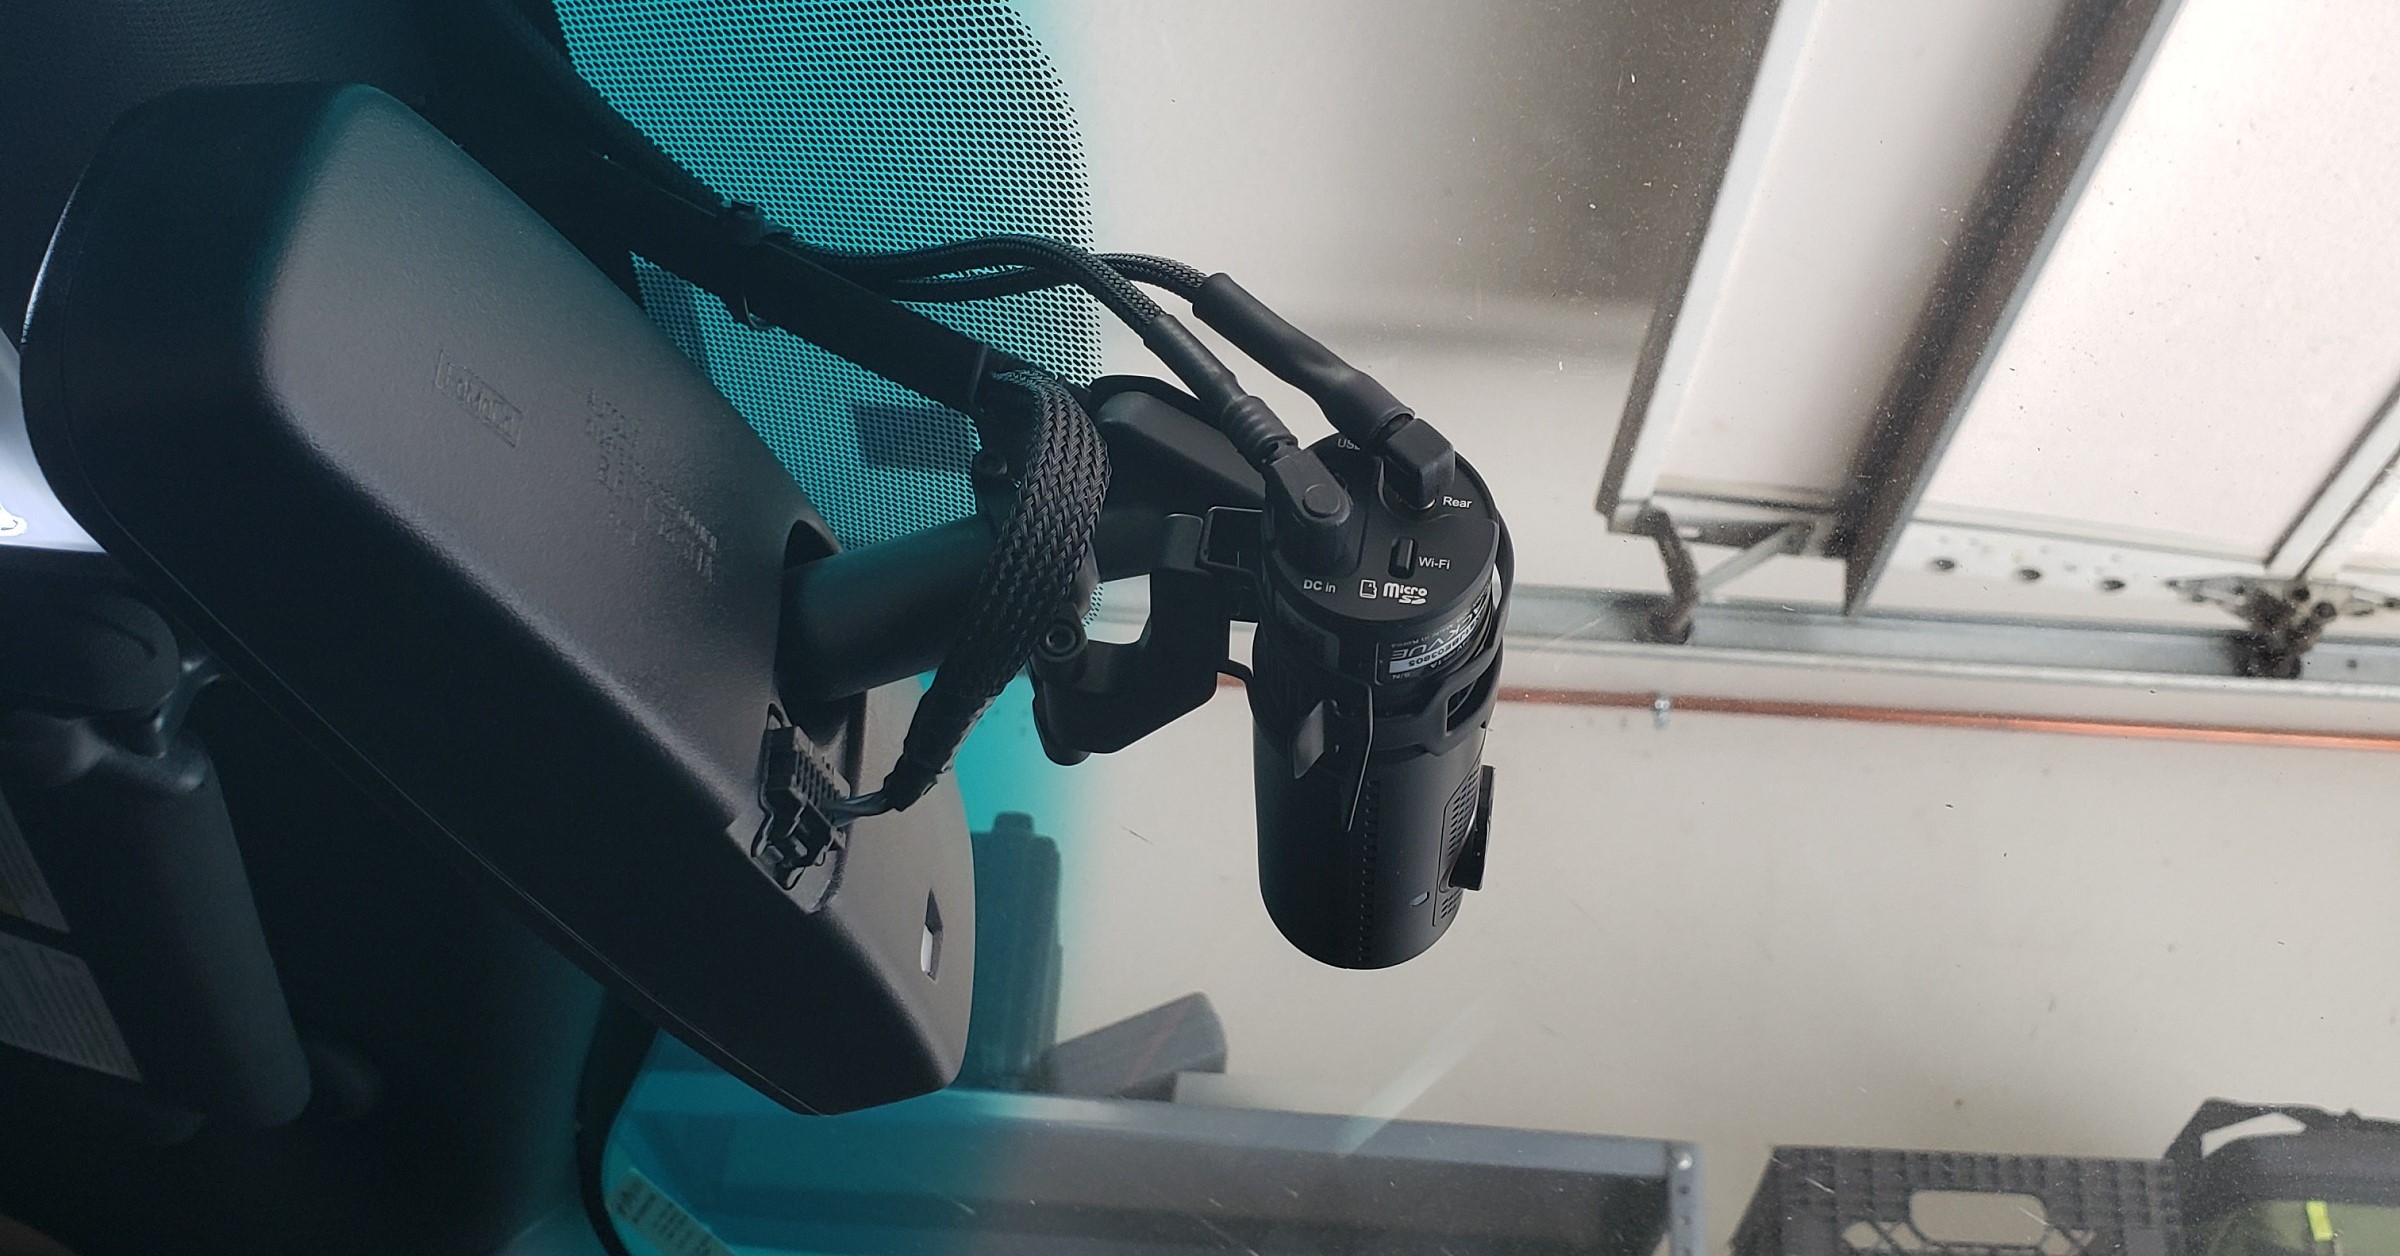
One of the projects I actually finished quite a while ago, but haven’t gotten to the write-up yet, is the dashcam I wanted to install. I wanted a dashcam for a few reasons but one of the main ones was the ability to capture some of my antics when I visit Mexico. It helps that it also has some really cool video capture features, including uploading footage to the cloud as well as continuous recording so that you can go back and keep something that was caught inadvertently, such as a theft or an accident. Did some research and BlackVue has some quality products. I ended up gong with the BlackVue DR900X-2CH because of the many features it has.
In addition to this I made it a bit easier to install with a Blendmount BBV-2000R review mirror mount. It made installation very easy and doesn’t require gluing or sticking anything to the windshield. It also allows for some easy adjustment when needed.
As for installation, it’s pretty straight forward. I began by mounting the front camera into the BlendMount, which I installed onto the mirror. This gave me an idea of where exactly to mount it on the mirror arm. Once I had it figured out where I wanted it installed, everything else fell into place.
As for wiring, I wanted to protect the wires even more and ensure they don’t get damaged in anyway, so I decided to place some braided sleeve loom over it, capped with heatshrink to keep everything in place.
I ran the power wires up along the top of the headliner over the passenger side, then down behind the a-pillar cover, then into the glovebox where I tapped constant and battery power into my Eastern Beaver accessory distribution block. This little thing comes in handy! See the installation of that thing here.
Now, onto the rear, where things got a bit more interesting…
Last thing I wanted for this package was the largest SD card I could find that was compatible. After scouring the internet and doing some cross-referencing, I discovered that the Western Digital WD Purple QD101 in 256GB size would work well and would also give me plenty of room to have lots of video on file. They offer this SD card in a 512GB version, but it hasn’t been verified to work, so I’ll stick with the 256GB one for now.
My intent is for this to continuously upload everything to my cloud account. To accomplish this, I’d need to have some internet service, and luckily, it connects perfectly to my Inseego MiFi-8000 mobile hotspot. I’ve also installed a constant-on USB power point in the glove box, so even when the car is off, it can be connected to the internet and upload, should the car get stolen. It can be well hidden within the glove box and still get powered without have wires hanging out everywhere. I have yet to really put it through it’s paces in regards to how it effects the battery of the car as well as how much data it will ultimately use being always on.
As for software interface here is the main screen after you select whether you want to get your stuff from the cloud or the SD Card. Very user friendly and simple to understand GUI.
So how is it when using the app? Below are some screenshots of it. It’s pretty easy to as well.
Below are some of the setting menus. Overall a pretty powerful camera.
One of my few gripes would be…they don’t make it easy to get the video files off the SD card if you’re using the app. The easiest way I’ve found is to take out the SD card and use the desktop software.
Anyway, thanks for checking out the install. This is an awesome dashcam. A little on the pricey side but well worth it once installed.

