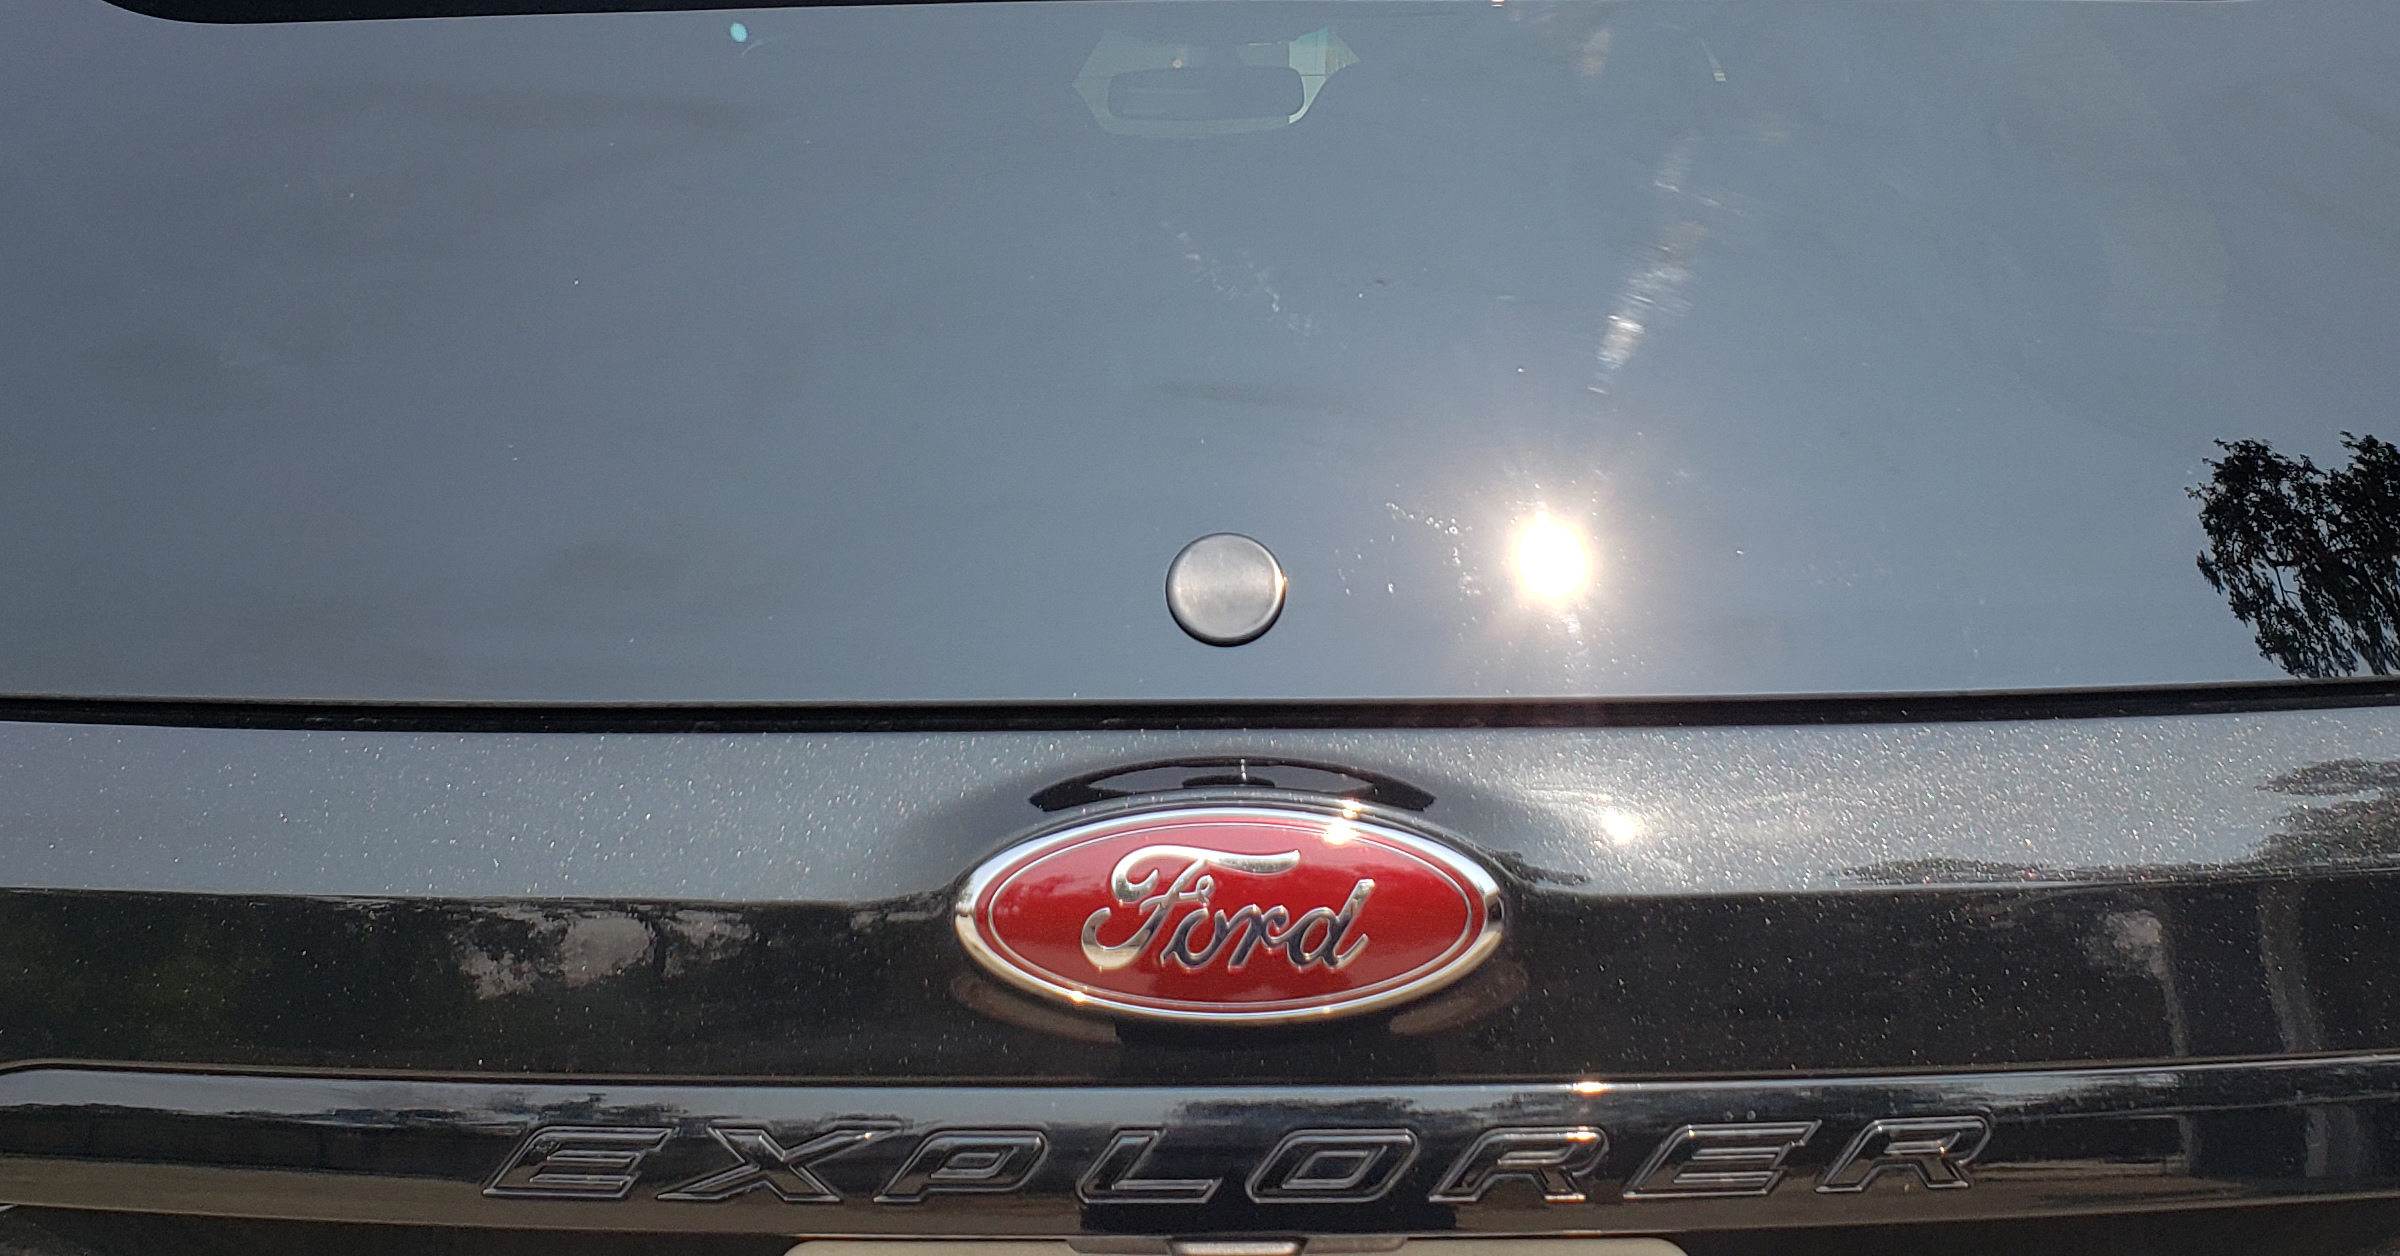
Not much going on here. Just wanted to clean up the rear window as I NEVER use the wiper. It’s such a simple job, I didn’t take many pics at all, so apologies there.
First is taking the wiper off, pretty straight forward. Just undo the nut on the stud and I used some VERY light taps of a small ball-peen hammer on the end of the stud to break loose the pressed-on wiper mount. Gotta be careful so you don’t break your glass, LOL.
Now, you need to remove all the rear hatch interior panels. The top “arch” panel is somewhat of a pain to pop off and I did end up breaking 2 of the clip mounts off. One I was able to epoxy back in place, but the other was a total loss…not too bad as it still attaches properly and firmly, so no issues for now.
Once all the panels are off, just disconnect the connector to the wiper motor and remove the bolts holding it in.
As for the block off plate, this is the one I used: NiceCNC 2002-2005 Civic Rear Wiper Delete
It needed some modification, so not all will be able to use it. I didn’t take photos of what I did either, so apologies there.
So this portion of the exterior part of the bock off fits nicely inside the hole in the rear window:
However there is a small triangular tab near the base that is a notch meant for the rear window of the Civic it is originally designed for:
WARNING: If you do not remove this notch, you WILL shatter your glass as it will put pressure on it, since our vehicles don’t have that notch. You will have to grind it off. I used a dremel for this.
On the interior portion of the block off plate, this raised portion of the part will hit the inside of the window before the o-ring will, so either you won’t get a good seal or, if you crank it too hard, may also break the window. I used a lathe to turn it down flush with the rest of the body of the plate, but a dremel will work fine as well:
Finally, I made one more modification. It isn’t necessary but will help with the appearance of the plate long term. I like anodized products and this product comes black anodized. However, even when hard anodizing is used, black will sometimes tend to fade into a purple. If it was just standard anodized and not hard anodized, it’s possible it will even fade to something approaching a pinkish hue. Considering this is likely a cheap knock-off made overseas, I am guessing it’s the latter.
In order to mitigate this and not have to take everything apart in the future, I decided to paint the exterior part semi-gloss black. Doing it properly with primer, semi-gloss black and then clear coat…with wet sands in between.
It would’ve been easier (and dare I say, look better) to have it powder-coated, but to have such a small piece done would be expensive, unless you have your own oven at home or have other items being coated.
Anyway, love the look. We don’t get much rain here, so I never used it. Not to mention, my rig is not a daily driver, so removing it wasn’t much of a concern. Not for everyone, I’m sure.

