I am always looking at ways to shave weight on this heavy beast. One of the easy ways I did to shave a bit was to just remove the spare tire and tool kit.
Removal saves ~46lbs:
Now, for many of you this isn’t an option and that’s OK, I don’t blame you. I made this decision on two reasons:
- I have towing with my insurance policy. I get that it may not get me out of every situation, but it’s something.
- Most importantly, this isn’t my daily driver. Frankly this has turned into my project hot rod, LOL. So it spends a lot of it’s life on a tender in the garage.
Anyway, there where a few small drawbacks to removing it:
- When the car wash place I take it to from time to time crawls in the back to clean the back windows and interior, they unknowingly step on that thin particle board cover and almost fall through, but defiantly cracking it a bit. I didn’t realize that the cover physically rests on the spare tire and uses it as a support.
- And more annoyingly, that bare metal and empty space started acting like a weird amplifier for road and exhaust noise. You can hear it just by tapping on it how it reverberates.
I decided to try and tackle both. Let’s just hope I didn’t add all that weight back that I saved by taking the wheel out, LOL (it didn’t, BTW).
I started out by removing all the foam from the backside of the cover as well as the carpet from the top of the cover. The foam just ripped off. No biggie as I wasn’t going to put anything in its place or re-use it. But the carpet I had to be more careful as I wanted to reuse it. I wanted to remove the carpet so that I could hide the hardware I planned on using.
After removal of both materials successfully, I took an orbital sander to it to sand all the remaining glue down and make it smooth again. Now to brace up the underside!
I had some metal bracing laying around in a scrap metal pile I keep that would do the trick. Not sure where it’s from, LOL. Here you see the first one installed. I used rivets with washers in order to keep the profile as low as possible on the top side.
Here’s a rivet/washer combo from the top side:
Here’s the completed bracing:
Top side and close up:
Completed with carpet glued back on using some 3M speaker box carpet spray adhesive:
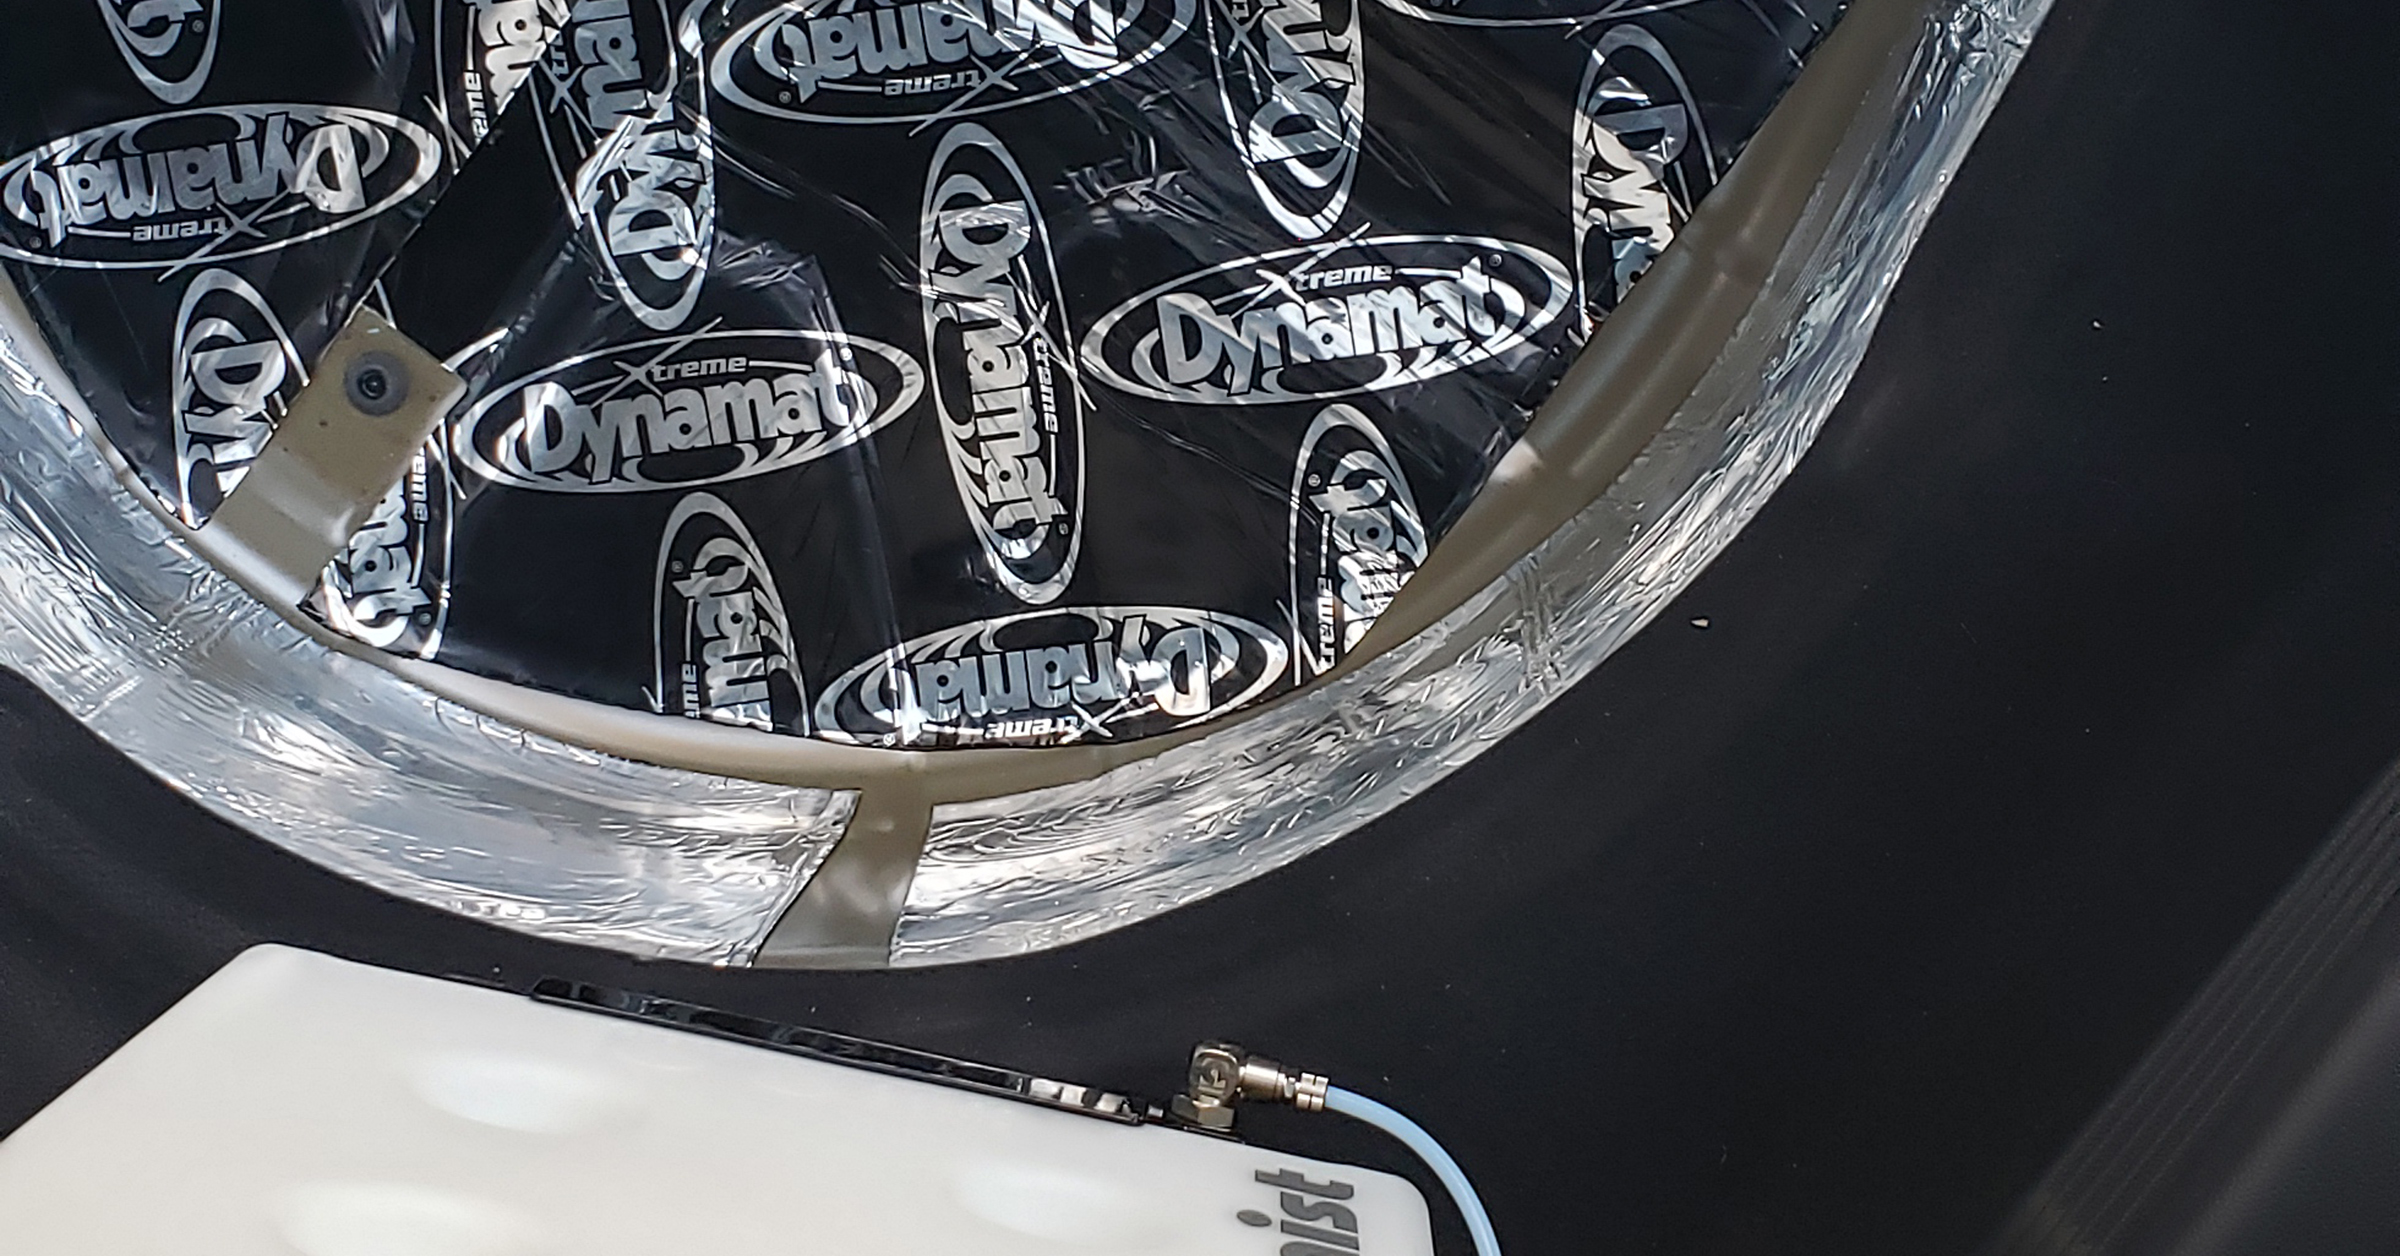
Now for the sound attenuation. All I did was add some DynaMat and it worked great. I had already put some knock-off DynaMat stuff on the sides of the well a few years ago when I was stilling keeping the spare in there, but when I removed the spare, that open metal created that amplifier, LOL:
Here’s a video for comparison
Back in the rear and all done with this part:

